Prepare to be overwhelmed with cuteness... This DIY sewing project / tutorial is super easy and can be completed by even the most novice sewing machine user. In a quest to find a cute, girlie winter coat for my large dog (Sandi Doodle, my rescued labradoodle) - I gave up. I know that she probably doesn't really need a winter coat because she has a super thick coat of fur already, but I did know that she wanted to look stylin'. I can't help but think that she is the cutest dog in the neighborhood (or ever), but when she is wearing her new hand-made jacket, shes even more adorable!
It's been a while since I posted a sewing DIY so I documented the entire process to share with you... Follow the directions below to make your own flannel doggie jacket for your pooch!
1.) Gather your supplies.
- 1 yard of fancy, cute fabric for the outside of the coat
- 1 yard of thick flannel fabric for the inside of the coat
- 2 yards of a thick nylon ribbon (for the belly straps)
- 1 yard of matching ribbon (for the neck straps)
- 2 yards of coordinating pompoms
- 2 yards of coordinating rick rack
- 1 yard of crafting paper (to make a pattern)
- 20" of thin elastic cording
- thread and a matching bobbin
- pinking shears
- fabric scissors
- straight pins
- an iron & ironing board
- matches or a lighter
- a can of water proofing / water repellent spray
- lots of dog treats to reward your doggie after you make him or her try on a jacket 12 times.
2.) Make a pattern for your dog jacket using simple craft paper (a full sheet of newspaper or wrapping paper would work just fine, too). For my large dog (waist size 21", weight of 45 lbs), I cut my paper to be...
- 27" long
- 23" wide
3.) Cut around your pattern with pinking shears. Leave at least a 1/2" - 3/4" fabric allowance around the pattern.
4.) Remove your pinned pattern from the fabric and use a hot iron to press all edges under about 1/2". It may be difficult to press the rounded corners under, but just do it to the best of your ability.
5.) Place both fabrics atop one another again. Line up the pressed edges and pin them in place. Keep both "rightsides" (the prints that you would like to see, not inside out) of the fabrics facing outward. Pin together. Sew around the edges about 1/4" from pressed seams.
6.) Sew a zig zag stitch around the seams (if your sewing machine allows you to) for added durability and to make sure your seams are matched and sturdy.
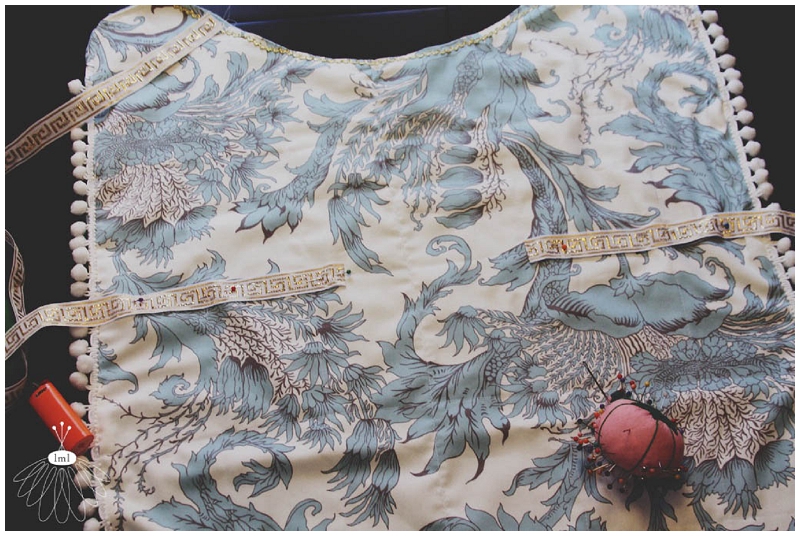
7.) I chose to run a few lines of stitching both horizontally and vertically across the jacket. This quasi-quilting effect will make the jacket more durable as well as a little more stiff. I sewed 3 rows horizontally and 4 rows vertically to add more structure to the jacket. You can see the excess thread hanging from the jacket in the photo below for reference.
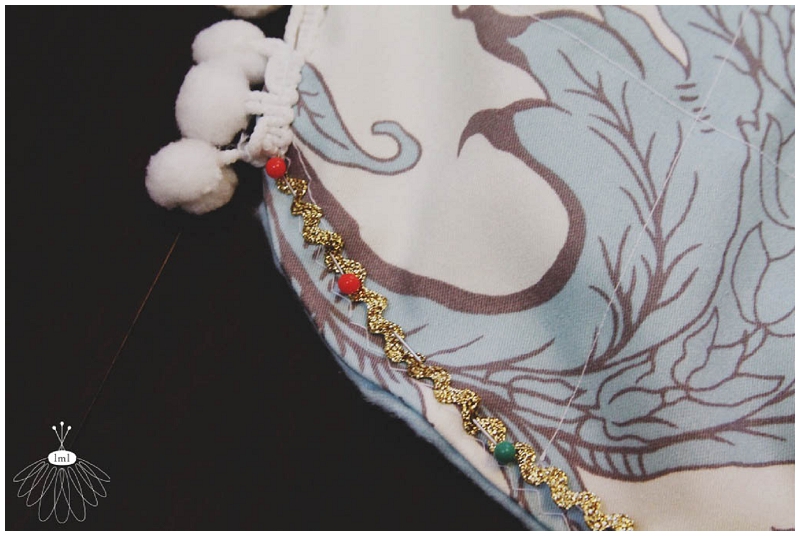
8.) Place your pompoms. Run and pin pompoms along either horizontal side of the jacket. Trim them about 4" from the corners of the collar area and 4" from the back (tail-end) of the jacket. Sew the cute poms in place.
9.) Add your rick rack. Pin rick rack along collar area of the jacket as well as the tail-end of the jacket. Trim off any excess. Sew onto jacket.
10.) Cut the nylon ribbon in half and use a match or a lighter to quickly singe the edges to prevent unraveling. Turn under one edge of ribbon and place 8" from the right side edge of the jacket. Pin. Repeat for the left side. This ribbon will tie around the dog's waist and hold the jacket in place. Sew along the ribbon so it stays in place. I double stitched the top of the ribbon to make sure it was sturdy. Place jacket on your dog and tie a bow around his or her waist. Carefully trim the ribbons so there isn't lots of extra ribbon hanging at the waist; you don't want the pooch to get their legs stuck in this bow. It should be snug but not too tight.
11.) Cut other decorative ribbon in half. This will be used as the neck tie for the jacket. Using a match or lighter, carefully singe the edges of the ribbon (if nylon or polyester based ribbon) to prevent fraying. Turn edge under and place about 2" from the top of the collar area (on both left and right sides of the jacket). Sew into place. Reinforce with several rows of stitching to make sure these ribbon ties will not tear off. Place the jacket on your dog, tie the waist straps, then tie the collar straps to make sure they fit. Tie a bow and carefully trim excess ribbon.
12.) Use elastic cord to create leg straps. Cut two 10" pieces of cord and pin to the jacket in the bottom left and right corners. Cord edges should be about 6" - 8" apart around corners. Your dog's legs will go through these to make sure the jacket stays in place. Reference photos below for guidance. Sew the cording in place (I suggest sewing and back-sewing several times to guarantee it will not rip off).
13.) Trim off all excess thread and prepare for water-proofing. Using a fabric water proofing or water repellent spray, spray just the top, outer layer of the jacket. This will keep rain and snow off of your dog's jacket and help if your dog decides to roll in mud puddles while wearing their coat. Let the spray dry for at least 24 hours (of whatever is recommended on the back of the can before placing jacket on your dog).
14.) Place the jacket on your pooch. Instant cuteness! The jacket should be draped over the back of your dog, tied at the belly, tied at the collar, and legs should be placed through the elastic cording in the back. Your dog will be the most fashionable canine on the block!
Perfect for chilly fall days a declining winter temperatures. *A layer of thin batting could be added between the outer fabric and the flannel to provide even more warmth.
Sandi Doodle will have several of these jackets by the end of the season, I'm sure. I'm so excited to have something warm and cute for her to rock this winter. My search for the perfect doggie jacket or coat is complete.
Follow Sandi Doodle's adventues on Instagram by searching for #SandiDoodle.
Click these links for more DIY / sewing tutorials by Little Miss Lovely! Please feel free to pin these images to your sewing or DIY boards on Pinterest, too!
- Ami


